
Nature
Photography
Galleries
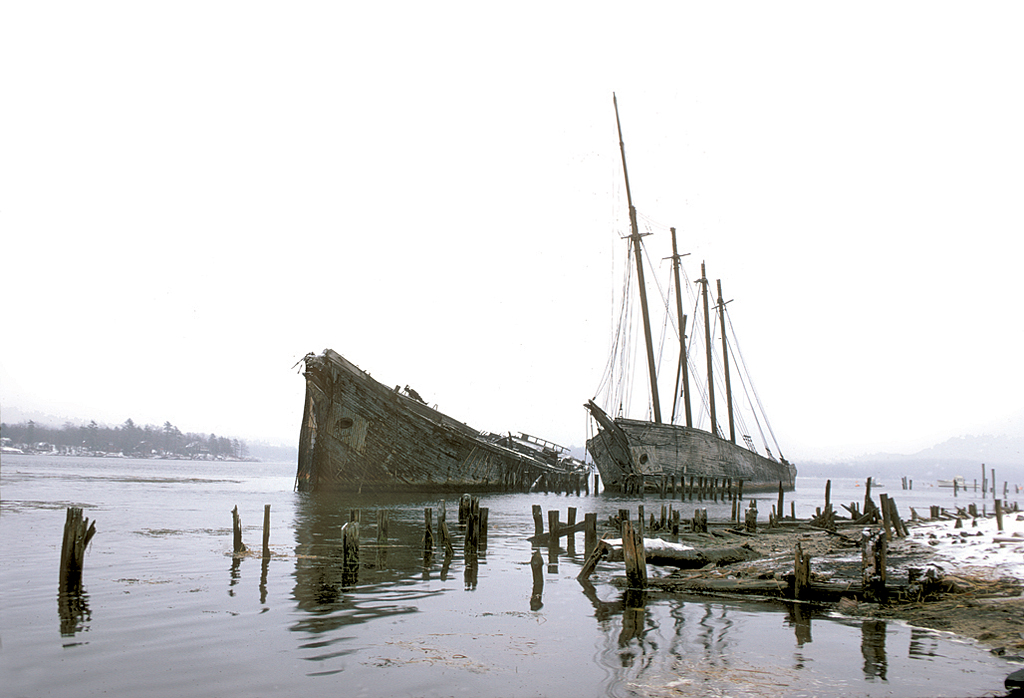
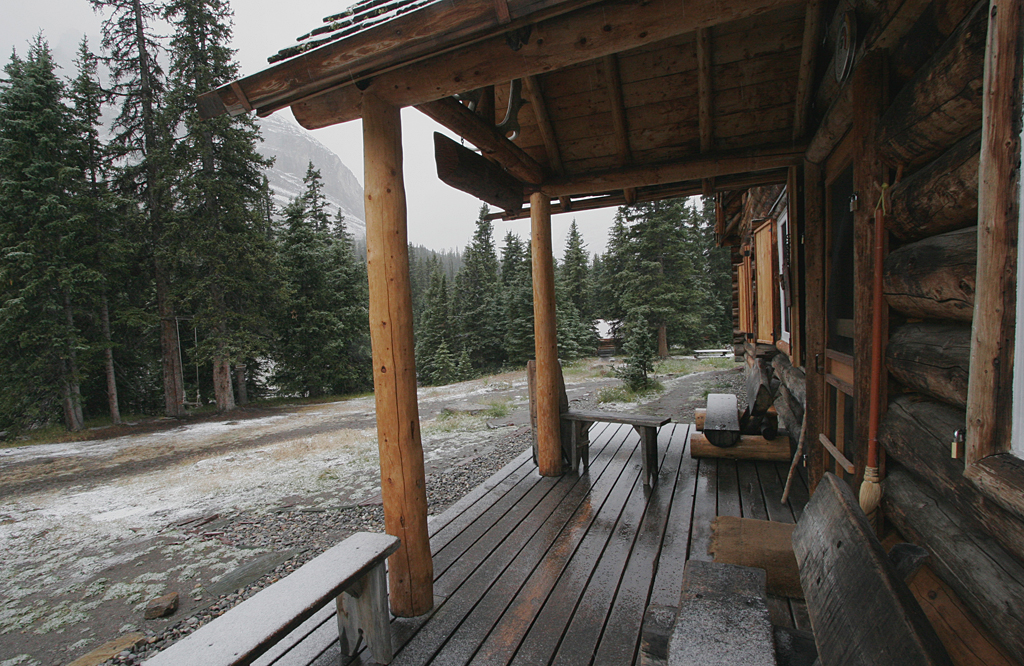
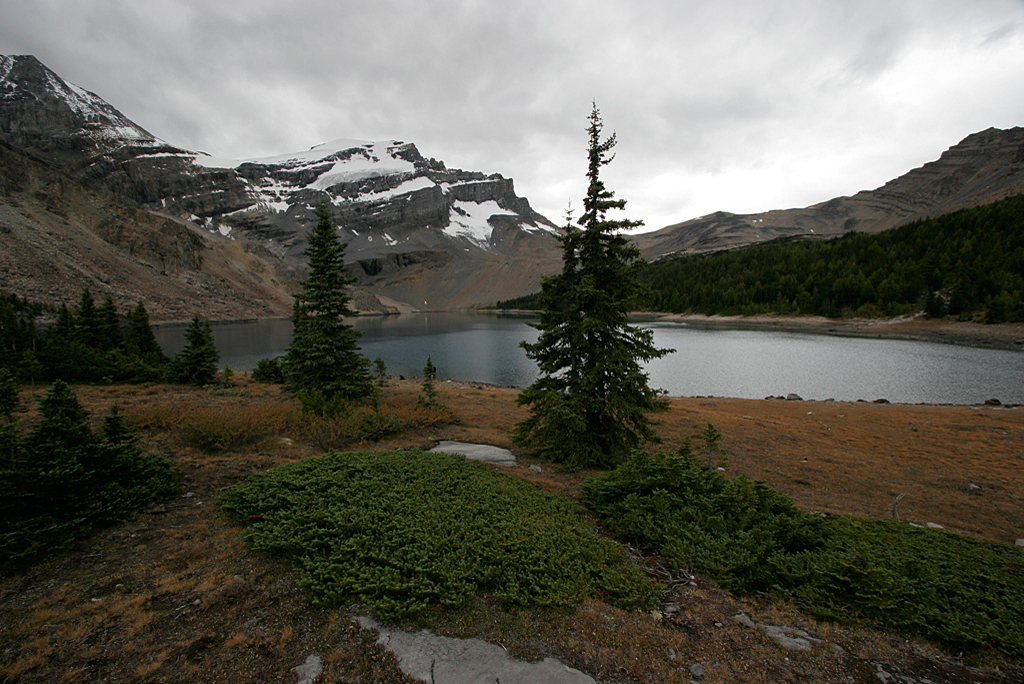
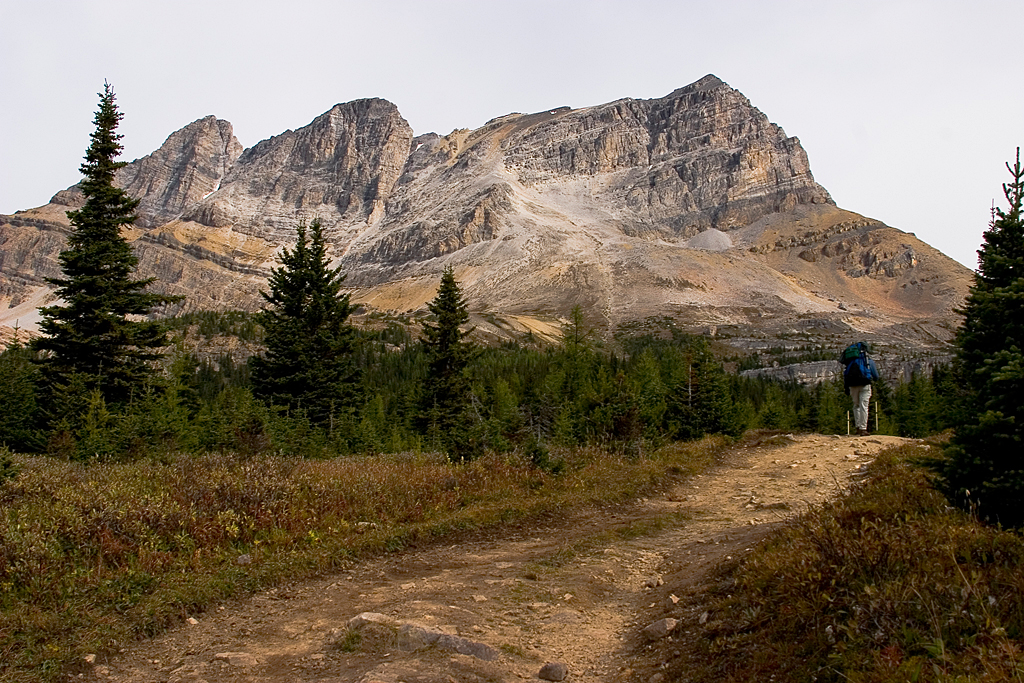
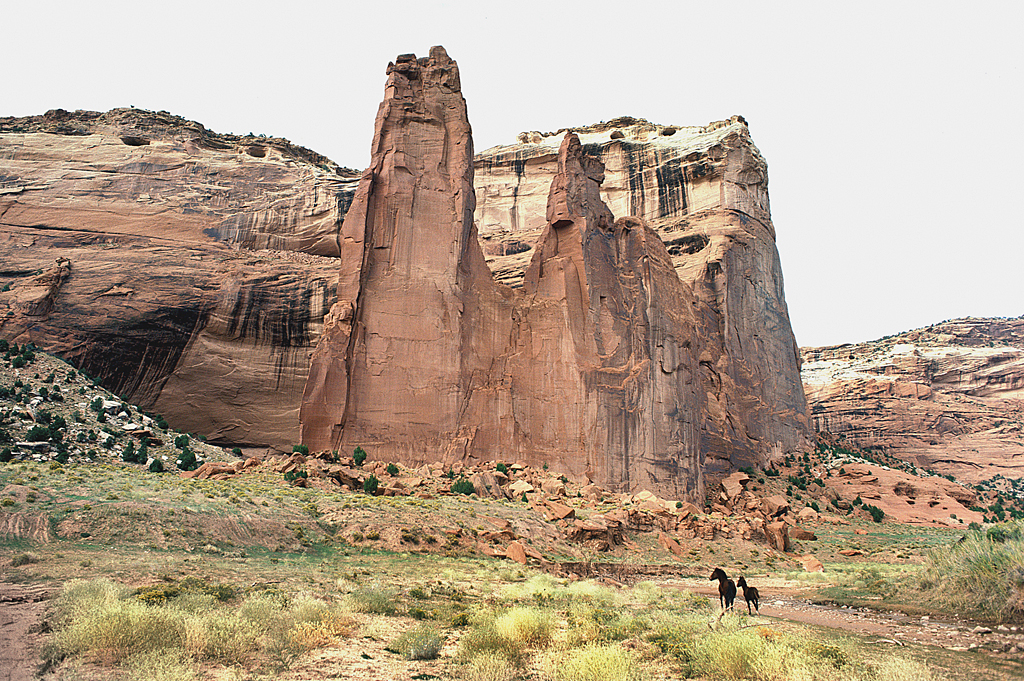
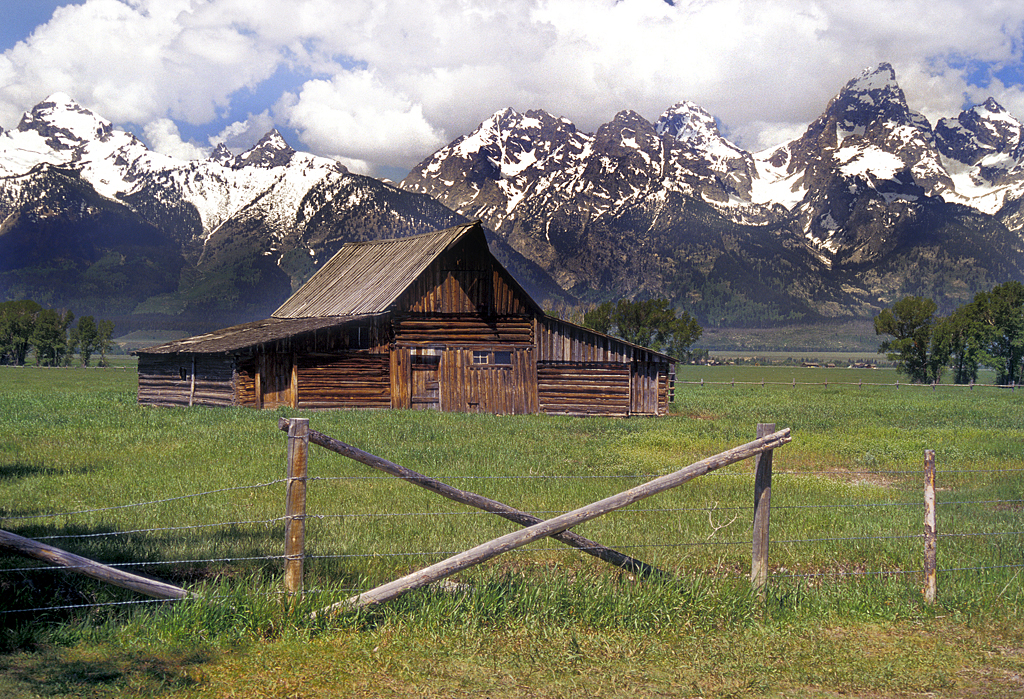
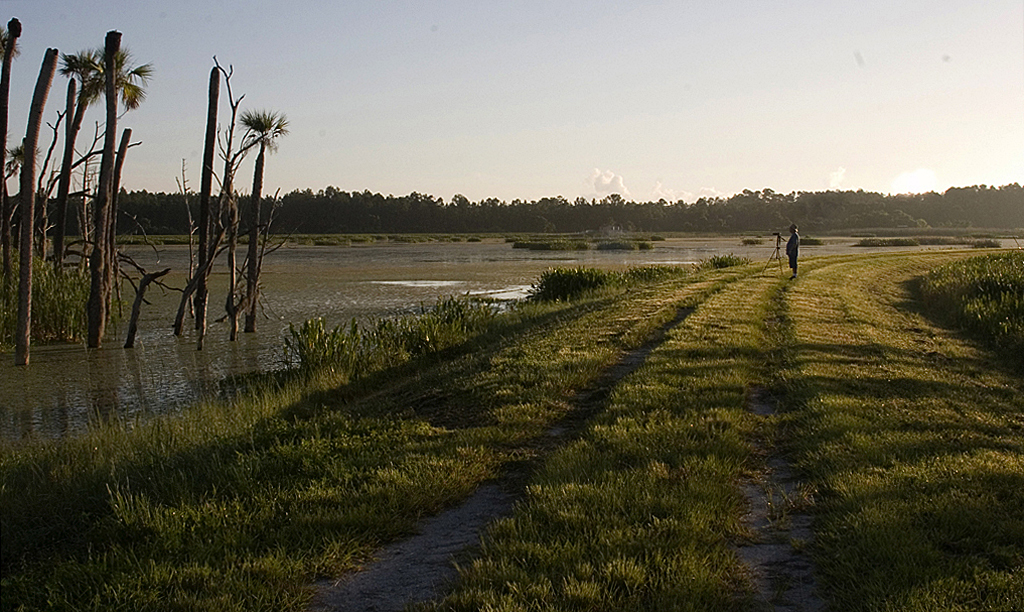
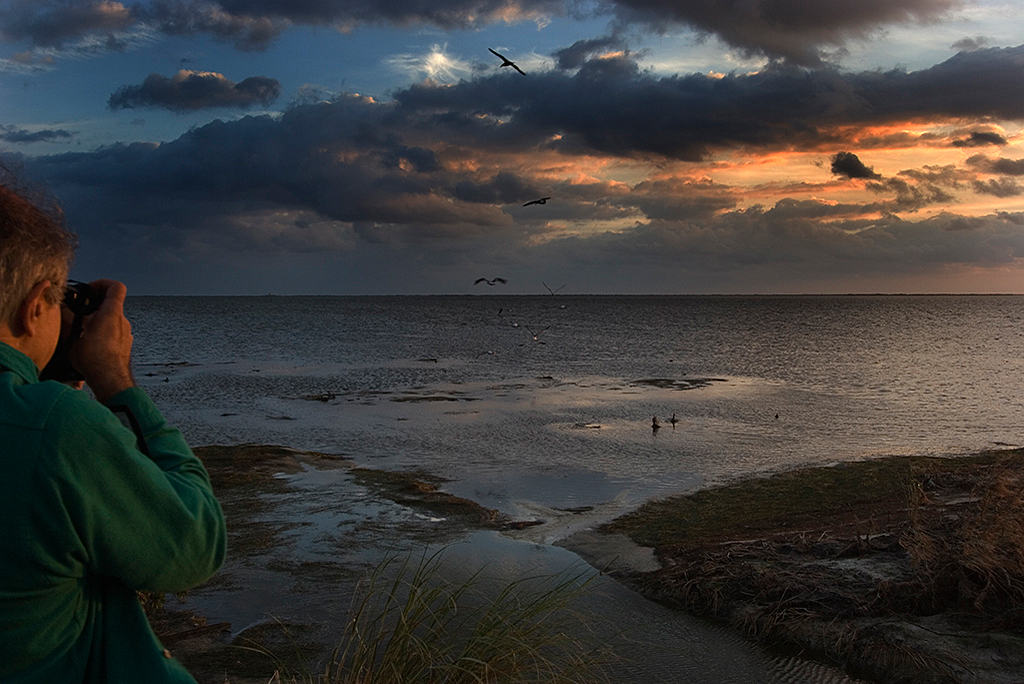
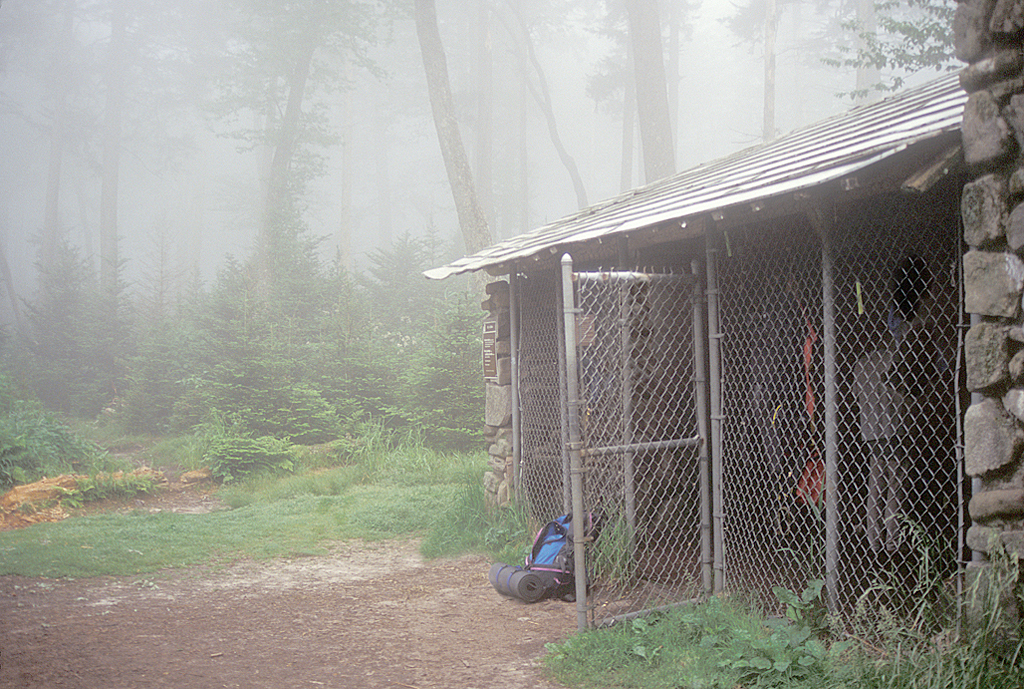
Landscape
Photography
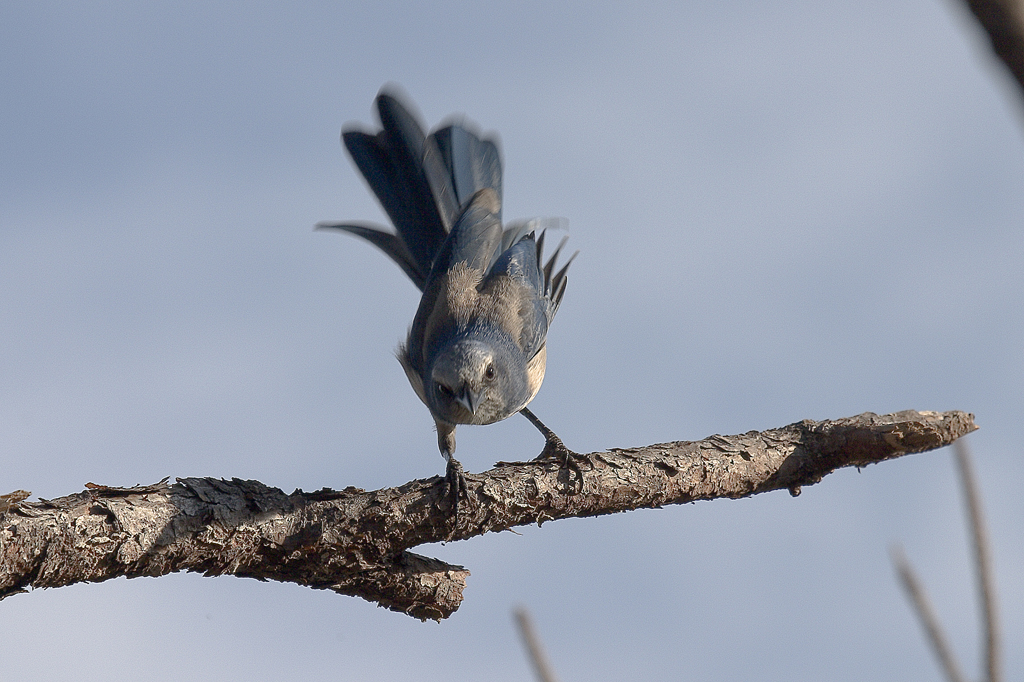
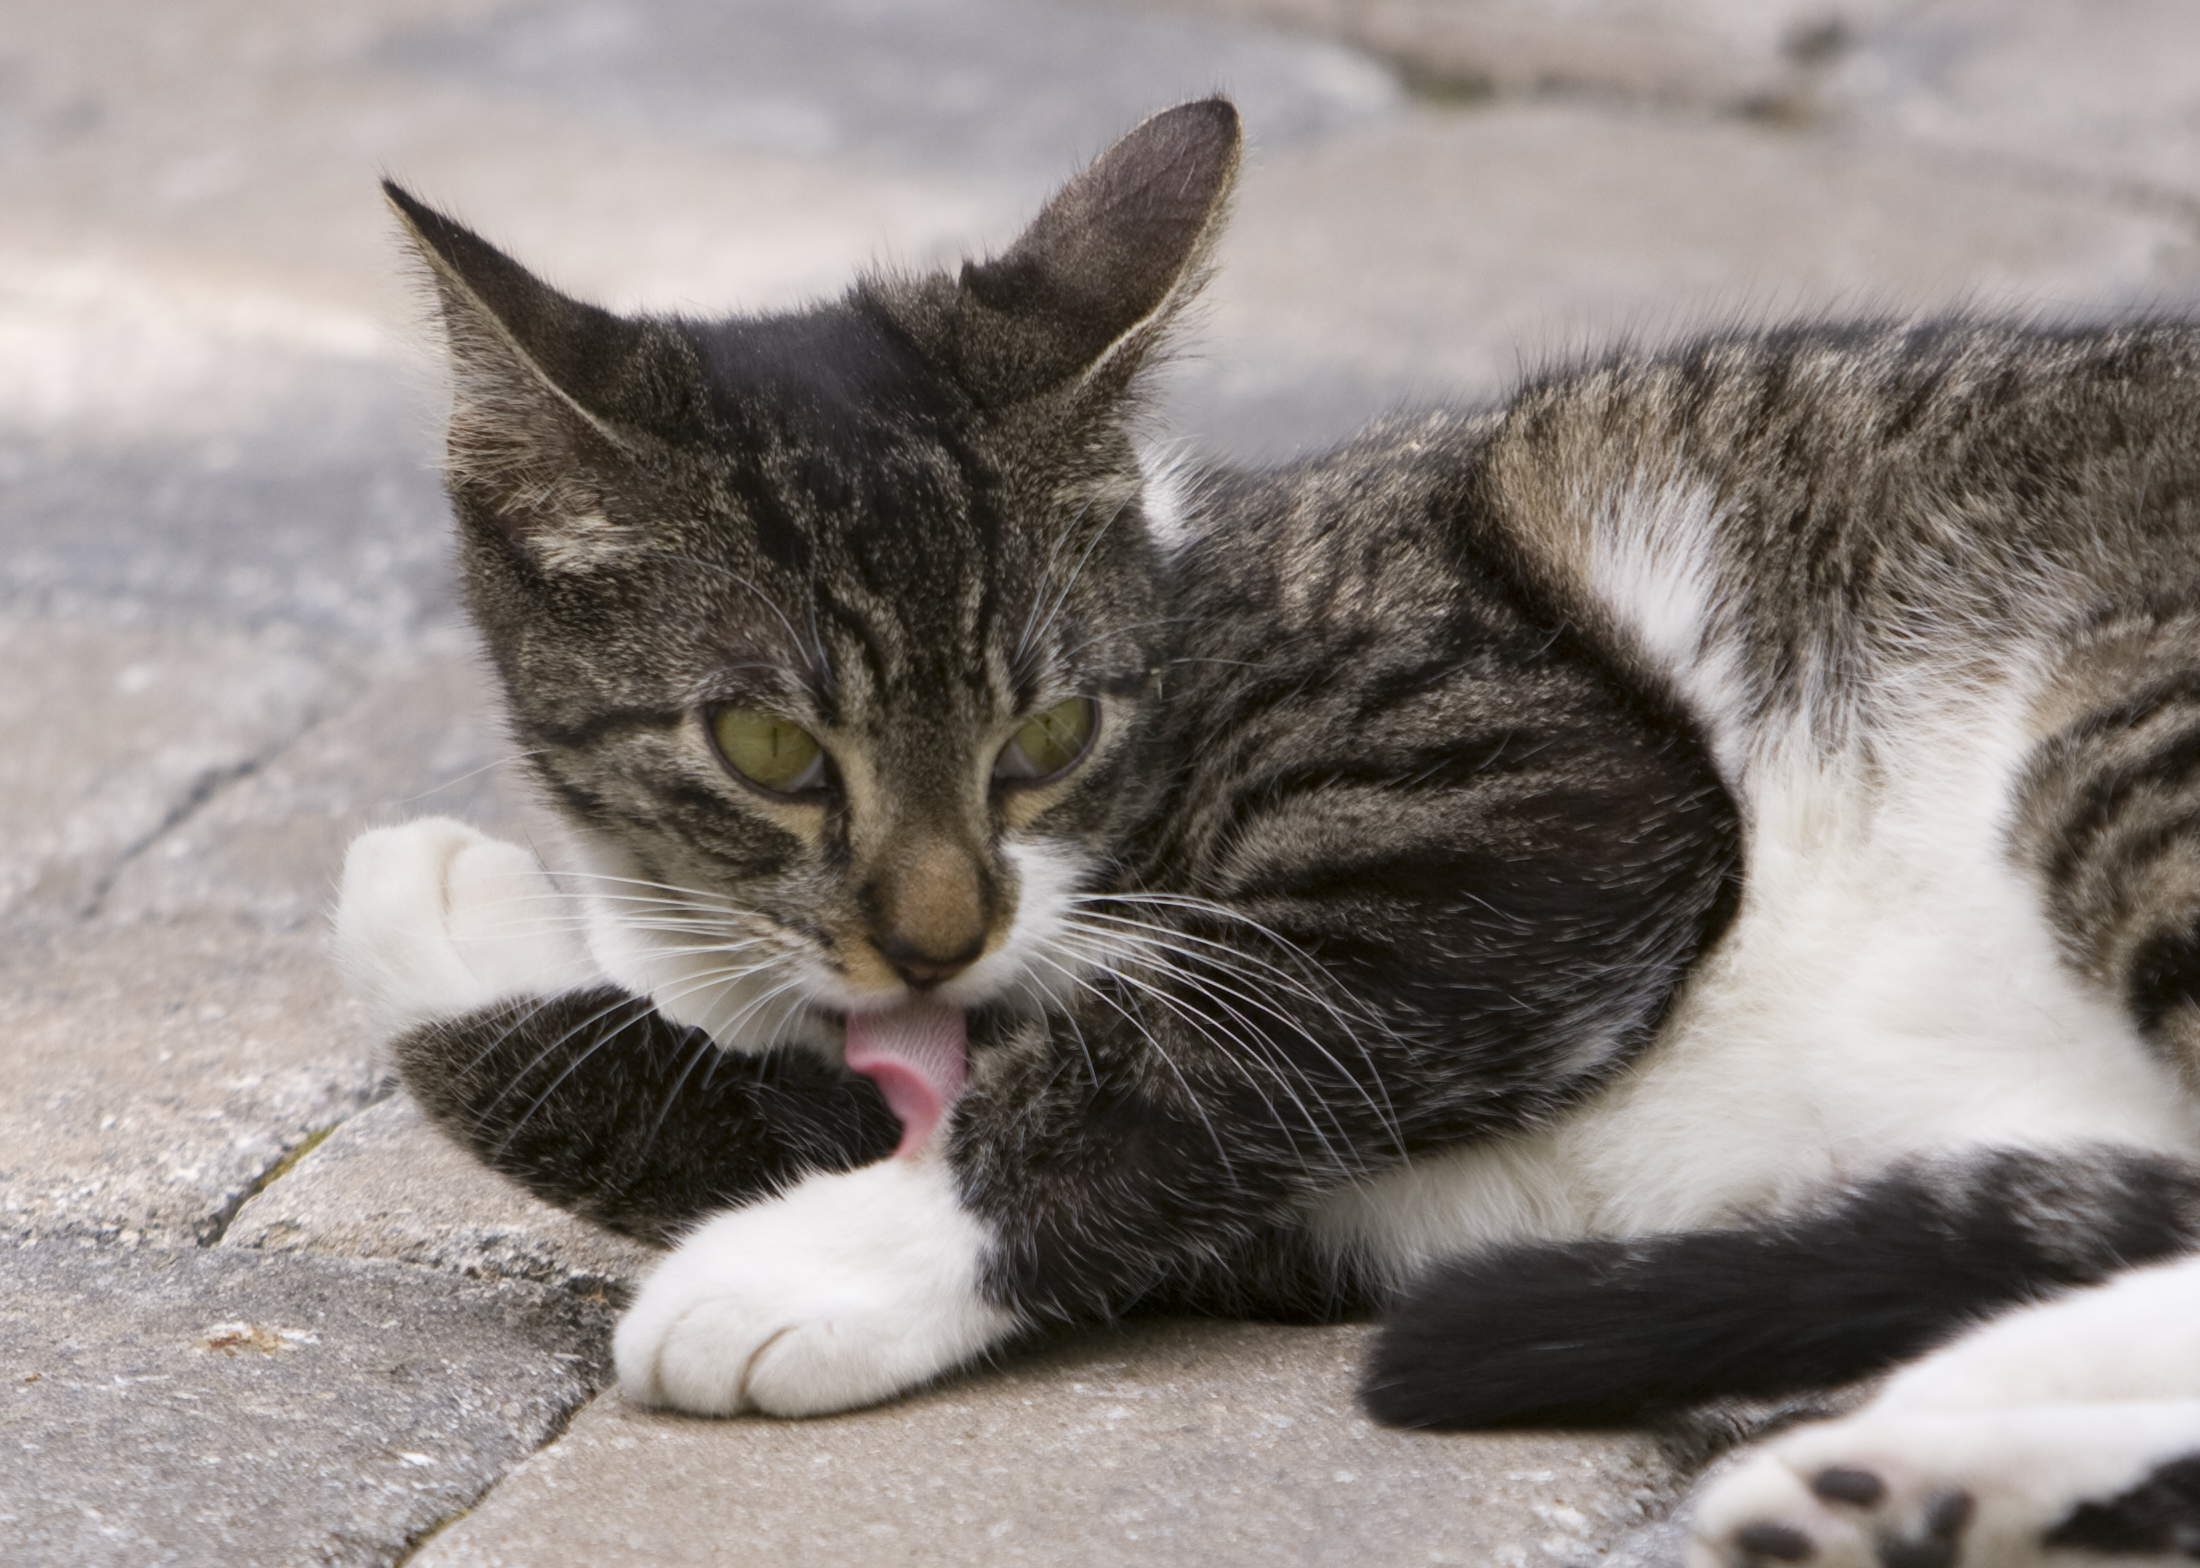
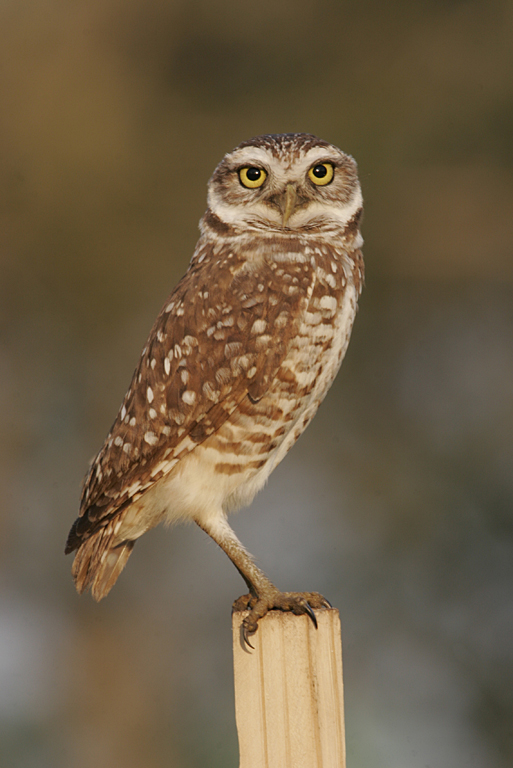
Animal
Photography
& Small
Critters
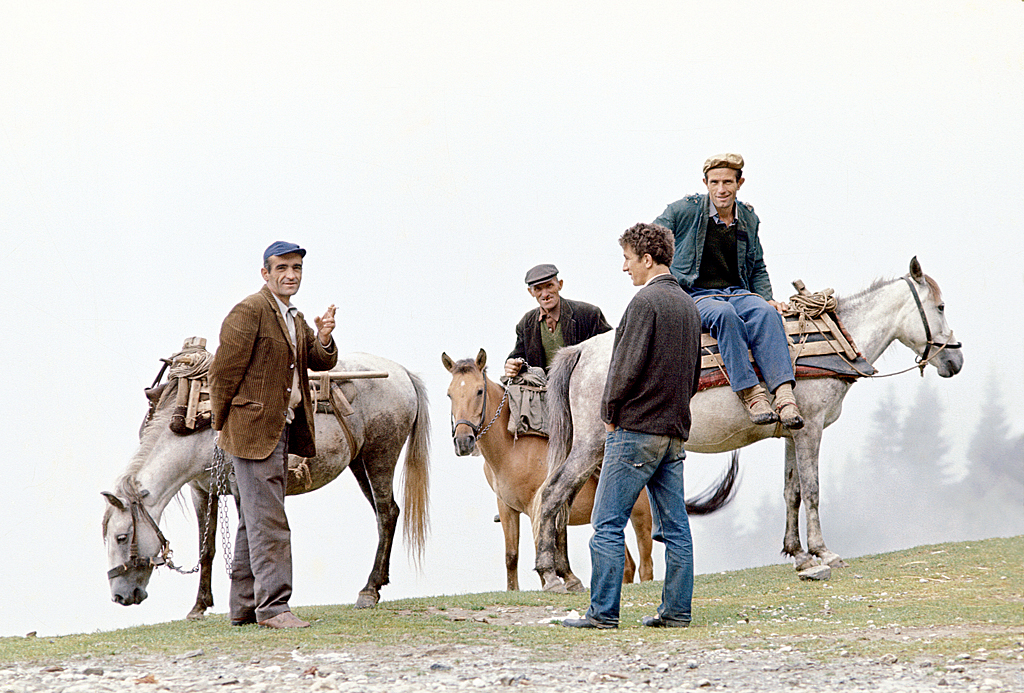
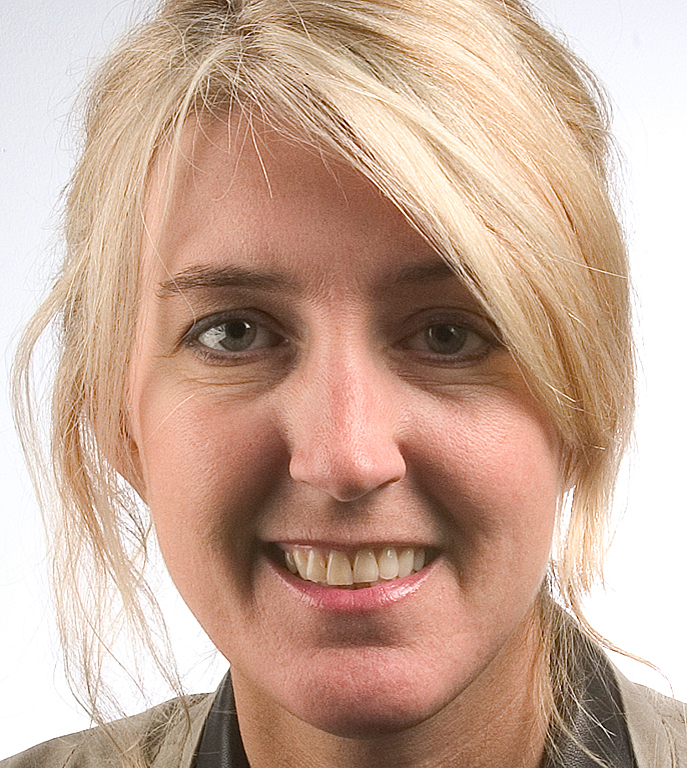
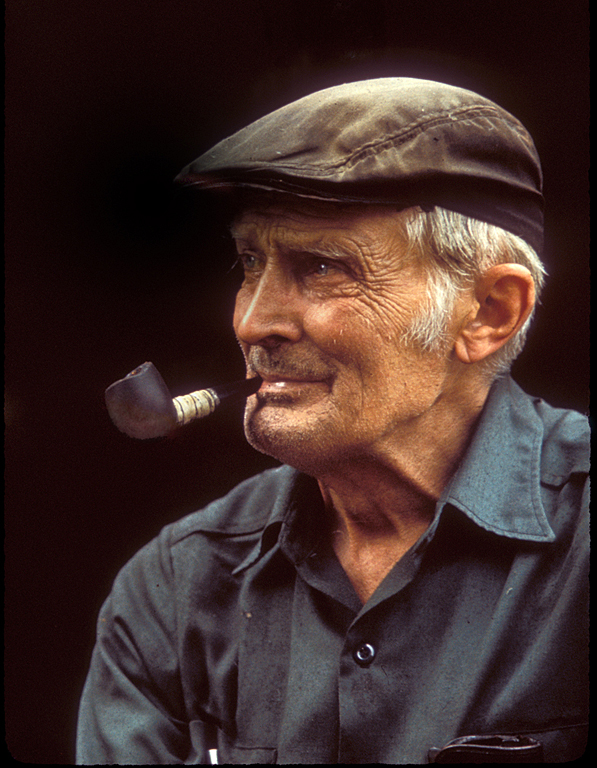
People
Photography
Last update:
07/02/2022 04:47 PM -0400
All text and photography Copyright © Milton Heiberg Studios unless otherwise noted
Upcoming Events - 5 (Back)
Description: Students will have a hands on experience learning the fundamentals of Photoshop "The Digital Darkroom" and move along to some of the more creative possibilities of this very complex program.
Syllabus:
Overview
We will go through entire course outline as an overview of what to expect. Each element will be dealt with separately. Complex procedures will be built on understanding the elementary.
Some of the exercises are meant to show you a better understanding of the mechanics of Photoshop even though there are other programs and plug-ins available that will do the job at hand with less effort. The best advice is to go along with the lesson and use the concepts creatively.
Requirements:
- Photoshop CS3 or later. (Other versions will be OK with some menu hunting.)
- 2GB of RAM Extra hard-drives (More is better)
Introduction Notes and Questionnaire
Introduction Video
(Note: All videos are narrated for PC keyboard but can be easily translated for MAC. e.g., Control=Command, Alternate=Option, . . .)
Part 1 - REVIEW BASIC WORKFLOW - Workflow Notes
- Preparing images for working in Photoshop: Notes
- Sizing, Straightening, Cropping Images Cropping Video
- Review basic image adjustments , Levels Video, Curves Video, Color Video
- Using Adjustment Layers Adjustment Layers Part-I Video Adjustment Layers Part-II Video
- Sharpening with Lab Color mode Sharpening Part I Video, Sharpening Part II Video
- Photoshop’s color profile (Adobe RGB 1998 for prints, sRGB IEC61966-2.1 for internet or monitor viewing)
- Camera color profile set at Adobe RGB 1998
- Menu items, Toolbox, Color Pallete, and keyboard shortcuts
Part 2 - BRIDGE and CAMERA RAW - Notes
- Introduction to the Bridge.
- Interaction with Windows Explore
- Rating or Flagging files for work
- Selecting files for work in Camera RAW (multiple selections)
- Handling RAW images. Setting up Camera RAW:
- General work on all multiple selections
- Suggestions for working in Camera RAW
- Use Camera RAW cropping tool for standard or free-hand sizing
- Adjusting Hue, White balance, and Exposure in Camera Raw
- Actions and Batches
Part 3 - IMAGE REFINEMENT TOOLS - Notes
Basic Tools:
- Selection tools (Lasso, Magic Wand . . .) and masking techniques to refine a selection
- Color <Ctrl+B> & density correcting (Curves & Levels & Setting up eyedroppers)
- Dodging and burning, Sharpen & Blur
- Transform and Free Transform
- Saving files: as .tif for printing, as .jpg for internet, as .psd if preserving layers or selections
- Undo/Redo (<Ctrl+Z>, < Ctrl+Alt+Z>, <Ctrl+Shift+Z>)
Retouching:
- Whiten eyes and teeth Paintbrush/color + Redeye removal
- Removing zits rough skin with Band-Aid & Gausien Blur
- The Photoshop powder puff Portrait Enhancement Video
- Slimming facial features with Dodge tool
- Using “Liquefy” to change a smile
Part 4 - LAYERS & BLENDING MODES - Notes
- Using Layers to adjust density (Multiply or Screen)
- Adjustment Layers
- Using Gradients
- Using "Milton's REVERSE RADIAL GRADIENT"
- Typography, Vector shapes,
Part 5 - CHANNELS AND STITCHING - Notes
- Using Channels to color correct in one color only
- Sharpening in one color channel only
- Surface Blur on green channel for smooth flesh tones
- Using Channels and/or Channel Mixer to create an Ansel Adams style B&W conversion
- Using Channel Mixer to add punch to a flat-looking image (simulates CMYK printing) - Images
Part 6 - CREATIVITY - Notes
- Blending images (sandwich, double exposure effects, montage)
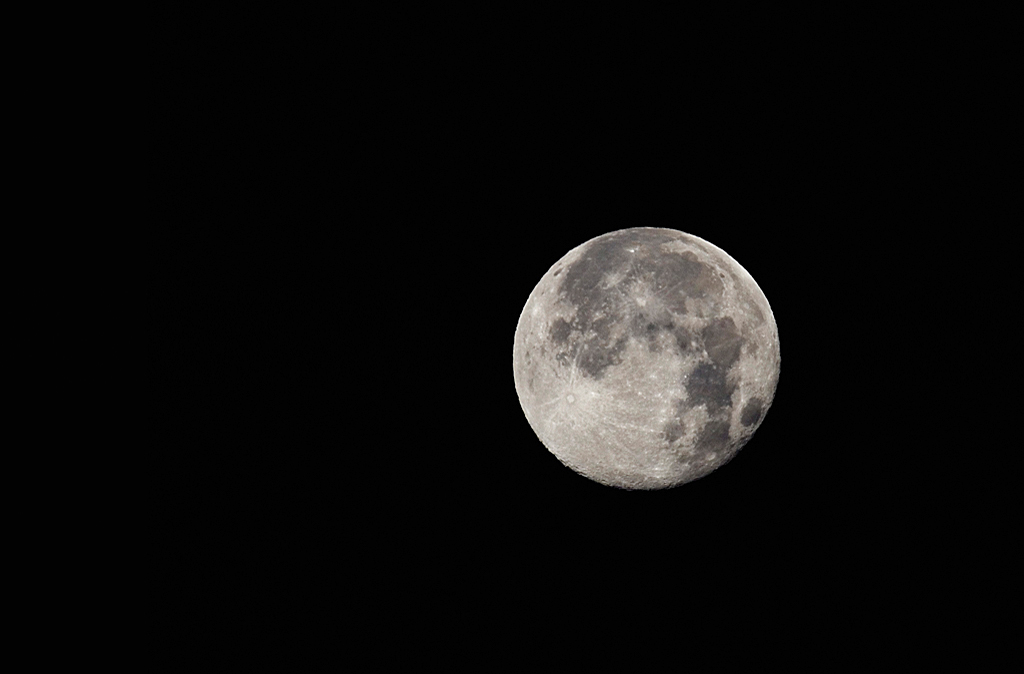
- Shooting parts for final assembly (objects, silhouettes, backgrounds, horizons, clouds, moon . . . )
- Photoshop filters for special effects
- Lab Color mode Sharpening
Part 7 - SPECIAL EFFECTS - Notes
- Typography, Vector shapes
- More weird stuff
Part 8 - APPENDIX - Notes